Everyone knows looks can be deceiving. Still, that is the first parameter for the general public to measure anything about you. So, if you are a company, a major rule for business success is to present your product in the most eye-appealing way possible. And a good product photography setup is the key to doing that.
Aspiring photographers also need to know about product photography setup. Because product photography is one of the highest paid photography jobs out there, plus, with your creativity, you can turn a product photograph into a long-lasting piece of art. All you need is proper guidelines and some help.
Knowing the proper setup for product photography is essential, whether you are a business owner or a professional photographer. Below you will find a complete tutorial plus a few helpful tips.
Step 1. Assemble The Essentials
Step 2. Positioning The Setup
Step 3. Preparing The Backdrop
Step 4. Camera Settings
Step 5. Lighting And Product Placing
Step 6. Post-processing
Helpful Product Photography Tips
A Step-By-Step Tutorial For Product Photography Setup
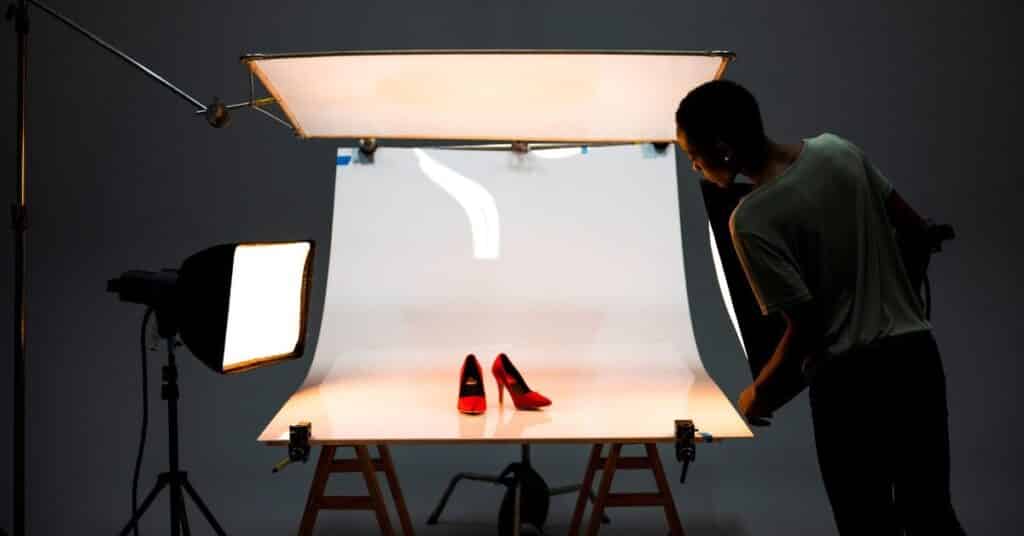
Many beginners think beautiful product photos require the most expensive equipment and studio. Of course, you need some decent gear, but that’s the least of it. The main secret to mesmerizing product images is a proper product photography setup. With the correct setup, you can capture a world-class photo inside your garage using just an average device. Just follow these steps-
Step 1. Assemble The Essentials
Product photography setup requires a few common materials. First of all, you have to get a camera and a tripod. Then you will need a clear white background. Get some white foam board reflectors to throw the light around. And finally, get a room with a good light source and a table. You would also need tape to mark and hold things.
The Camera
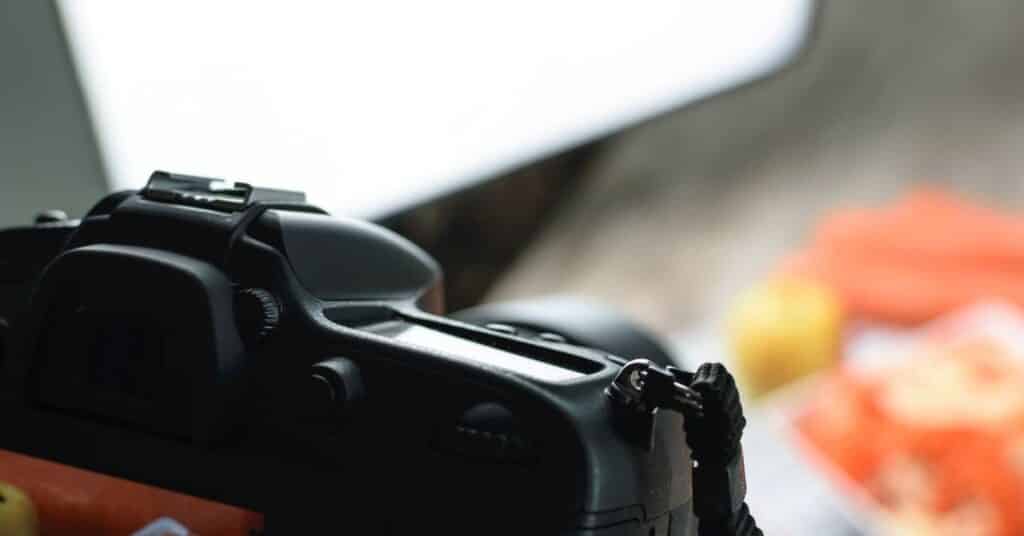
Your device should be at least 12 megapixels. Anything below that, and you won’t be able to take a high-quality picture. Plus, low-megapixel photos are unsuitable for zooming. It should also have a manual mode. So that you can tweak things like white balance and shutter speed.
Good color quality is also essential for taking precise product photographs. It will also save a lot of time during the editing sessions. Also, if your photo is low-quality to begin with, there isn’t much you can do during editing. You will also want the camera to work well when there isn’t much natural light.
Using A Mobile Camera For Product photography
Some beginners think you can’t do a product shoot without a DSLR. Well, it is good to have a DSLR, but it’s not essential. You can take perfect product photographs using your smartphone camera.
The significant advantage of using a smartphone is that they are budget-friendly. Chances are high that you already have a phone. So, you wouldn’t need to invest in a new camera. Plus, the camera options on smartphones are easy to navigate through.
Moreover, you can instantly share or upload images from your mobile. And a wide range of camera apps and photo editing tools are available for smartphones.
However, the more advanced photographer wouldn’t be happy with the limited control a smartphone provides. So those who want to practice precise control over their photography sessions should get a DSLR camera.
Tripod
No matter how stable your hands are, you will need a tripod for a product photography setup. Because you will be using the widest depth of field possible. This means you will use a large f-stop number.
A large f-stop number would result in less light getting into your camera. So, you must slow down the shutter speed to let in more light to balance this effect. But low shutter speed means you can’t hold the camera in hand. If you do, there will be blurriness in the image. That is why you will need a Tripod.
Background Material
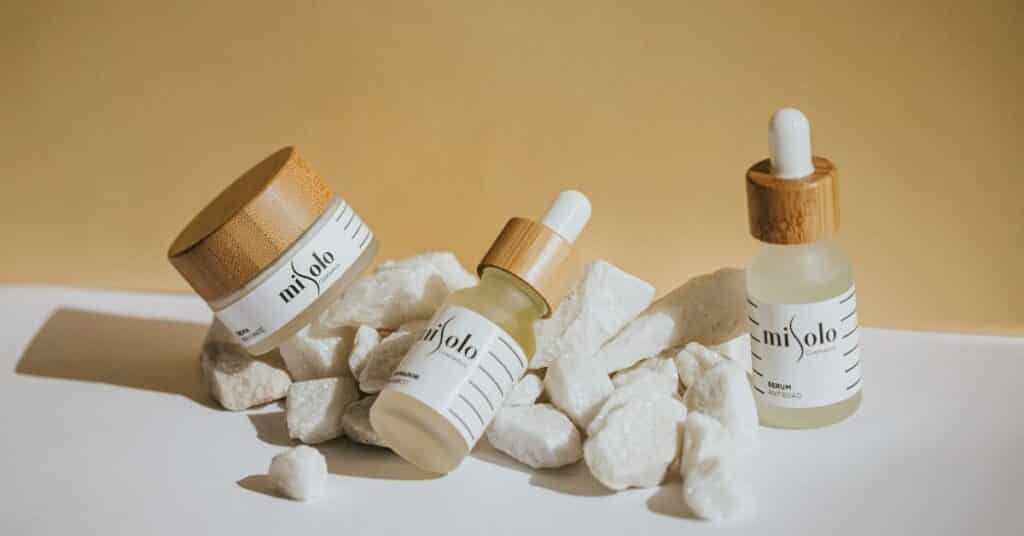
You need an unwavering white background for professional product photography. The routine is to use white sweeps. These are backgrounds with both vertical and horizontal portions that blend into each other.
Here, paper sweeps can be a good choice. You have the liberty of pulling down a new sheet every time the current one gets dirty.
But if you can’t afford them, white poster boards can work fine too. These will cost you around a dollar per piece. Just make sure they are pure and completely white.
Reflector Cards
Reflectors or bounce cards can help you either get rid of shadows or deepen them. Usually, white foam boards work best for lighting shadows. This becomes necessary when shooting colored products in a naturally lit room. Here, one side of the product is not facing the light and is therefore dark. To even it out, you must place a reflector card to send light into the shadows.
In contrast, if you are shooting light or white-colored products against a white backdrop, you will want some shadows for definition. In that case, black foam boards are a good option. These boards will absorb some of the light. As a result, your product looks bolder and more defined.
Table, Tape, And Room
A two-foot wide table is good enough to provide a base for the product. This doesn’t have to be anything special. An average folding table works fine. You will need clamps or tape to ensure the table stays in its spot.
The best room for a product photography setup is the one that sees a lot of natural light. That means you need a room with a big window. It would also be great if the room had enough space. So you could move the subject around and play with the natural light and shadows. A garage with an open door is another suitable option.
Step 2. Positioning The Setup
When shooting in natural daylight, turn off all the other sources in the room. Keep your subject close to the window if you are looking for soft light. Align the table at a 90-degree angle. Notice that the ledge of the window casts a shadow on the floor. Consider this as a border when moving the setup towards the window.
Well, the above setting is standard for most product photography. But you can also try different positions. For instance, instead of keeping the window at the side, you can keep it at the back. This is a popular method for shooting food products.
Remember not to let direct sunlight hit your product. It will create rough shadows and thereby obscure the details and fine features of the product.
Step 3. Preparing The Backdrop
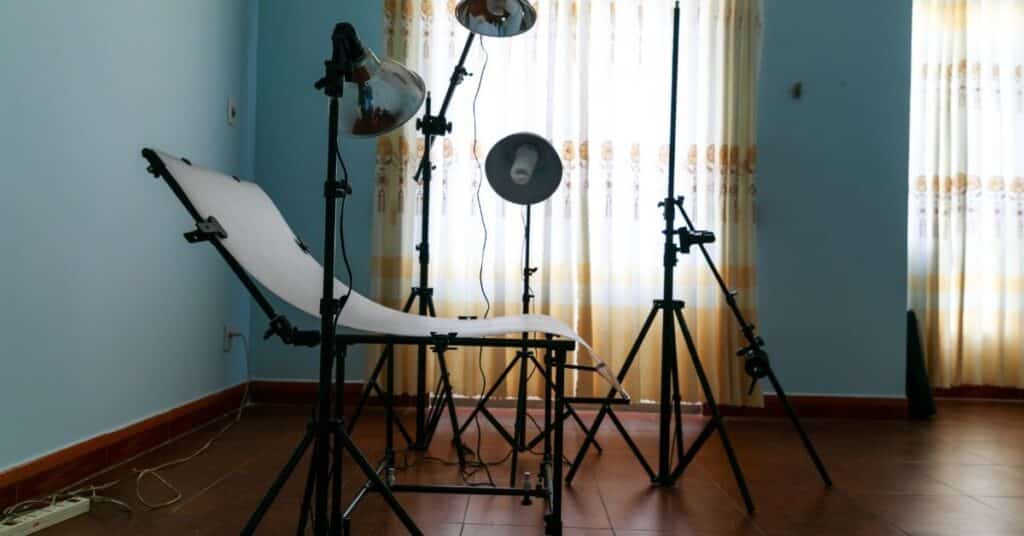
The white sweeps need to flow from the ground vertically towards the ceiling. Well, the boards don’t necessarily come in that way. So, you must roll and adjust them a little to make it happen. It will help if you have a wall at the back. That way, you can attach the vertical part to the wall with tape.
If there isn’t a wall, you can put books, blocks, or something similar that can support the sweep. Now, secure the table to the horizontal part of the sweep with tape.
Step 4. Camera Settings
The setting features are not the same with every camera. However, some features are quite common. But if working on these settings seems like too much trouble, you can set all the camera features to Auto. This will work seamlessly as long as you use natural light.
White Balance, Size, And Quality
If you do want to set it on your own, start with the White Balance. Here, the best option to go for is “Auto.” At the same time, you should turn the flash off.
Secondly, you will want to create a large photo file. You would always have the liberty of reducing it to a smaller size. But you won’t be able to enlarge a smaller photo while preserving picture quality. So, choose the largest JPEG setting on your camera. This way, you can use the full bit depth of your device.
Third, you want to use all the pixels your camera offers. Select the highest picture quality from your settings. This will ensure you take the best possible photo.
Exposure
Another important Settings feature is Exposure. For this, switch your camera to Manual. Then, set the f-stop to the biggest number. This way, you will work with the best depth of field your camera can offer. At the same time, it increases the shutter delay. This way, you will get the perfect exposure for your photo.
You don’t have to adjust the shutter number if your camera has a feature called “Aperture Priority.” In this case, you would only set a high f-stop number. Then the camera will automatically find and select the most suitable shutter speed for you.
However, some devices will not offer all these options. You might only have an exposure compensation dial to work with. In that case, usually increasing 1 or 1.5 on the dial will do the trick. Here, all the other settings will be in Auto.
Zoom
Among the zooming options, choose “Optical Zoom.” This will give you the most pleasing image. On the other hand, digital zoom will reduce picture quality.
You will want to use the furthest optical zoom. This is especially important if you are using your phone’s cameras. Usually, these cameras have a wide-angle lens that warps the image. Using a longer zoom will help you bypass this effect.
Step 5. Lighting And Product Placing
As for positioning the product, it will be different according to the subject. It is best to place the product in the center. And if there is some writing or logo that you need to show, then make it face the camera.
The reflector cards do the most critical manipulation of light in the room. Experiment with the cards to find what works best for your product. Your aim is to fill in the shadows for a fresh and happy look.
Are you satisfied with everything? Then take the picture. You should try to take the sharpest and clearest image possible. Of course, there would be some shortcomings. Correct them during the editing or post-processing sessions.
Step 6. Post-processing
The editing or post-processing period is as important as taking the picture. So, you can consider this the final step of your product photography setup. For instance, if you don’t have a solid post-processing plan, you will also have difficulty deciding on the primary photo.
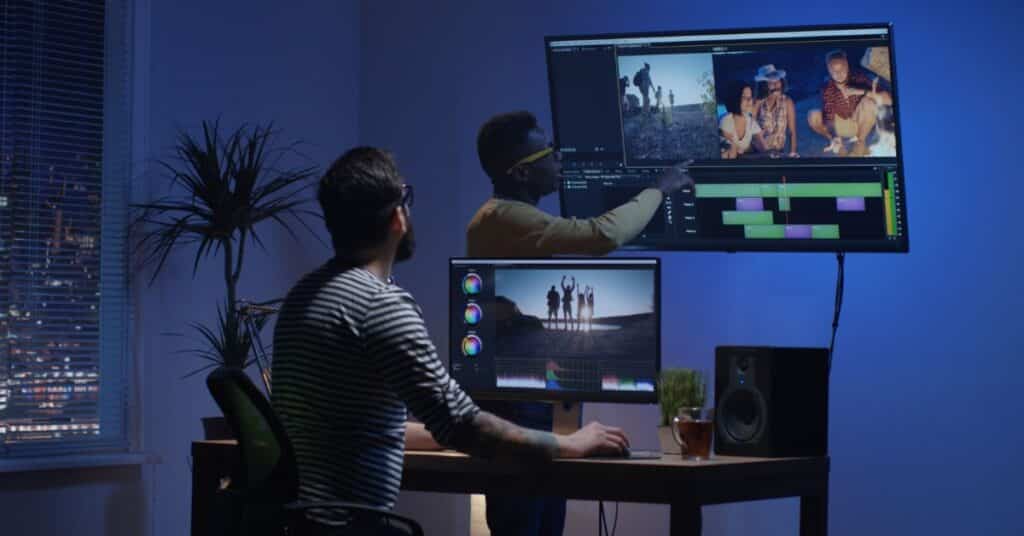
On the other hand, when you know what kind of editing you will do, you can shoot the photo accordingly. It helps you visualize the final result more clearly. Remember, the picture you shot isn’t the final result. Instead, the photo that emerges after the editing process is what you will sell to the world.
Upload To A Computer
After shooting the photo, upload it to a computer as soon as possible. Don’t try to evaluate your work on the camera or smartphone’s screen. Because you will probably miss a lot of details. Plus, these devices don’t have the range of editing tools necessary for post-processing.
You will probably be taking multiple photos and seeing which works best in the end. Organize them in files and give them names and numbers. Investing a little time and patience into this can save you from a lot of frustration in the future.
Retouching
Retouching is what makes professional product photographs stand out. It is like the secret spice or sauce that makes restaurant food taste more interesting than a homemade one. This process means a lot of things. For instance, correcting color tone, adjusting contrast, brightness, and saturation, and such.
Without retouching, your product photos are unlikely to attain a professional look. However, this is a whole different department than photography. You need proper knowledge and experience with the various software and tools. So, for the best image retouching, you should rely on professionals who successfully do it regularly.
Here, Dropyourimage’s Retouching Services are a good example. Our expert team can deliver the best retouched images in the shortest time possible. We can take on a large volume of work while maintaining consistency and top quality. Plus, we are continually updated about E-commerce’s latest product photography trends.
Drop Your Image can also provide color optimization, background services, and other photography solutions. Shooting a good product photo means a lot of work. So, don’t let it waste because your post-processing was lacking.
A Few Helpful Product Photography Tips
The tutorial for product photography setup, as discussed above, is routine work. Almost all professional photographers go through these steps to capture the eye-catching images we see on e-commerce websites. So, what can you do to excel in this competition? Here are a few helpful tips for setting you apart from others.
Single Vs. Multi-light Shooting
Taking your product photos in a single light, such as a window or garage light, is simple and effective. However, single-light is not enough when shooting more challenging products like transparent glass or crystal items. In that case, you would want to get a multi-light setup.
But a multi-light product photography setup demands more experience and knowledge. Once you master it, a multi-light setup lets you shoot more unique photos than you can ever do with a single light. So, aspiring photographers should start working with a multi-light setup as soon as possible.
Practice Photo Editing
Digital photo editing mainly requires three things. Firstly, an artistic sense. As a photographer, you already have this. Second, learn to operate the software. And thirdly, a lot of practice. Invest some time in the last two, and you will eventually become a photo editor yourself. Adobe Photoshop is an excellent place to start. Plus, there are many tutorials available online.
You want to learn photo editing to gain more control over the whole process of product photography. An experienced service, like Drop Your Image, can do an excellent job. But you must edit your photo with your own hands if you want the final result to look exactly as you imagined.
Experiment With Different Angles
Take your product’s photo from various angles. This lets the viewer or customer consider the product from multiple viewpoints. And that significantly raises the chance of sales.
Some standard product photography angles include eye-level, bird’s-eye, high-angle, and low-angle. With eye-level shots, the photo shows what the picture would seem if you look at it straight. In comparison, bird’s-eye shots show the subject’s appearance when you view it directly from above.
Don’t move your camera or tripod when shooting different angles in a series. Instead, rotate the product to get new angles. If you change the camera and tripod’s position, your series will lack consistency.
Conclusion
A product photography setup plays an essential role in determining whether your product will sell well or not. No matter how fine your product is, if the pictures don’t look appealing, people won’t buy them. And you can’t take a competitive picture without a proper setup. So, both business owners and photographers should take the time to learn this craft.
We sincerely hope that this article was able to help you understand the basics of product photography. Now, handling everything from photo shooting to post processing can be quite the hassle.
But, that’s where we come in. We provide professional grade retouching services to enhance the quality of your product photography. So, be sure to contact us today.


