Ghost mannequin or invisible person is widely used by retailers and in E-commerce to give a realistic image of a product. In this blog we walk through the different essentials for creating these ghost mannequin statues. Then we walk through the steps for shooting and editing these images, from start to finish.
1. The preparation
2. Choose a model or mannequin and pose
3. Setup and equipment
4. Photographing the product
5. Post-processing images
1. The preparation
– The mannequin(s), it is important to purchase a mannequin that suits the target group of your clothing and which matches the sample clothing that is used in the photo studio. An adjustable mannequin (neck, arms, chest, shoulders, chest are among other things adjustable) has great advantages over one that is not adjustable.
– Camera , use a camera that can take high quality photos, an example of a good camera is from the Canon EOS 3D series.
– Lighting, make sure to use a standard lighting setup for the ghost mannequin shoots. You can determine this in a Style Guide, which you can download here.
– Clothing, before the shoot starts, make sure you have all the clothes collected in the studio. This allows you to work easily and efficiently.
– Useful tools, Several small tools are often extremely useful to make the clothes fit better on the mannequin. Think of tape, pins, clips and so on.
2. Choose a model or mannequin and pose
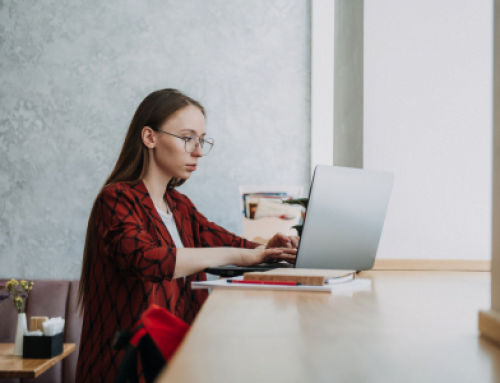
Ghost mannequin shoots can be shot on both models and mannequins. Mannequins have a significant advantage over model photography. When photographing ghost mannequin images on a model, it is important to maintain a static posture. Where the arms are kept separate from the body and are held alongside the body. We often recommend shooting on mannequins, as this results in higher consistency, time savings and cost savings.
To start with, it is important to choose a mannequin that fits the product, because mannequins come in different sizes and styles.
If the shape is not right, your clothes will not fit properly and the photos will not provide an optimal image. So it is useful to have a number of different mannequins on hand to shoot with. You won’t always have the best-fitting doll in the studio ready. That is why the tools such as styling pins and clips are important and useful.
Once you have made a choice from the best fitting mannequin(s), it is useful to hang out clothes per mannequin. So that you can start photographing the set per mannequin, without having to change mannequins too often. This shows the great advantage of a mannequin compared to a model. You can work extremely time-efficiently.

3. Setup and equipment
When you have all the supplies ready and have chosen the mannequins with which you want to shoot this set, it is good to prepare the setup and equipment before you start shooting.
First of all, it is important to prepare the studio. It is a good idea to define this set with materials and positions of the materials, so that everyone in the organization knows what the ‘fixed’ setup is for the session. For this there is a Style Guide extremely useful.
In this phase, for example, the following equipment is prepared: beware, lighting, camera, laptop (desktop), cables, background

4. Photographing the product
When photographing the various items, the height of the camera is important. When shooting shirts, it is important that the camera is at chest level, while the camera should be opposite the hip to shoot pants. Shooting a product from too high or too low an angle can cause the garment to appear inaccurate.
To create the 3D image it is important that two images are photographed.
First, create a front and back view of the product being worn by your mannequin or model. Then, style and hang the product on a piece of white cardstock or place the item inside out on the mannequin and re-shoot both the front and back views. We will use these inset photos later to process the inside of the product in the image.
For collared shirts and similar products, make sure the top is open and the inside of the back is clearly visible.

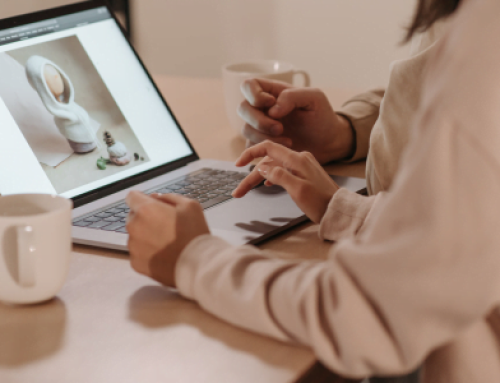
5. Post-process images
When all images have been shot and selected, the images still need to be edited. In this phase, the bets are placed in the articles. Here the images are merged. You can do this yourself in Photoshop or with us outsource. If you choose to outsource the image editing of ghost mannequin, we need the images of each article, including the stakes. We will take care of the rest. If you have any questions about our mannequin editing service, please don’t hesitate to contact us