Within many organizations it remains a problem to maintain consistency in the expressions of your fashion articles. The entire process from product development to final image contains various links, departments and employees, which increases the chance of errors within the process. To increase the consistency of fashion product expressions, companies create different steps with handles. Standardizing the entire process ensures the best results. In this blog we take you through the different phases, activities, do’s and don’ts. This article consists of the following chapters:
1. Create a product content strategy
2. Determine and define the photography phase
3. Determine and define the post-processing stage
4. Export and Prepare Images for Ecommerce
5. Integration Dropyourimage and your product content strategy
6. Document / Create a Style Guide
1. Create a product content strategy
Before you start placing online fashion images, it is good to have a plan. The content strategy for your brand goes much broader than just the product shoots. That is why we specifically discuss the product content strategy for Ecommerce. Fashion articles in general can be displayed in different ways. It is good to know on which channels the images will be used. When there is a clear picture of the channels (eg Social Media and Ecommerce) it is good to look at the content type/storytelling per channel. This way you can clearly distinguish in the next phase in which ways of shooting best support this form. In summary, it is important to have the following basic questions clear in advance:
– On which channels are my fashion shoot images used?
– What kinds of image options does each channel offer?
– What should the tone off voice be per channel?
2. Determine and define the photography phase
When the strategy has been determined, you can move on to the next phase. In this phase we will actually photograph the images. This can be done in various ways. Consider the following categories:
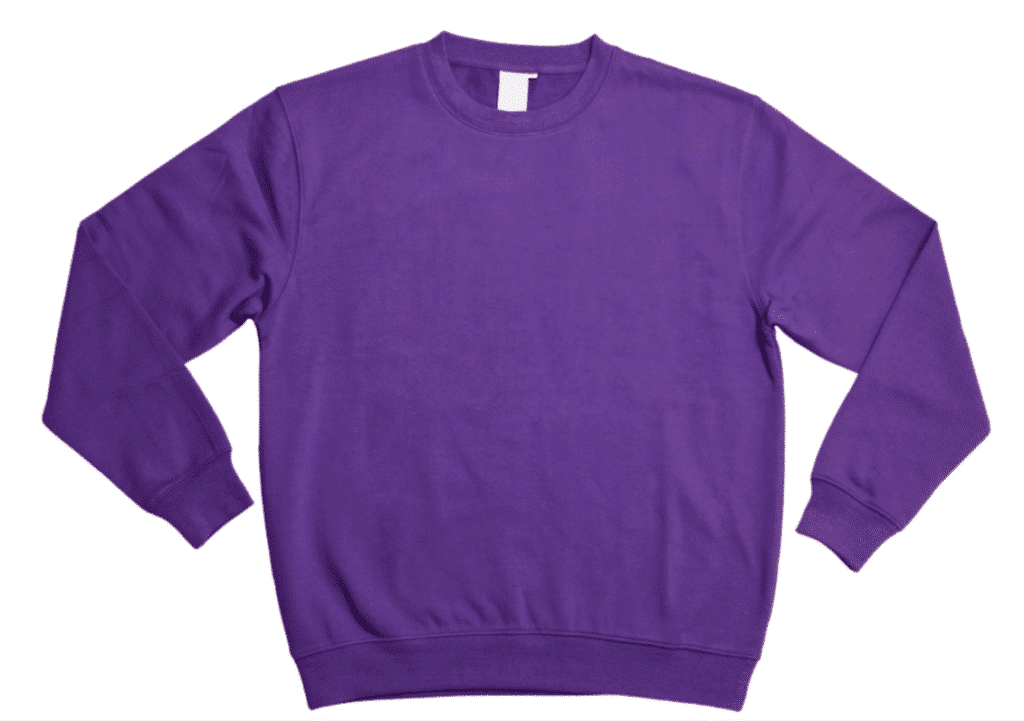
– Flat shoot: the clothes are photographed from above on a background. The advantage of this method is that it is easy to set up in different environments. As a result, no large budgets are required and it can be started quickly. The big disadvantage of the flat shoot is that there are often many creases, irregularities in the garment. With flat shoot, small differences are also quickly apparent, making consistency more difficult to ensure. The above drawbacks can be solved with good post-processing. So keep that in mind. When you’re shooting flat, that post-processing is almost necessary.
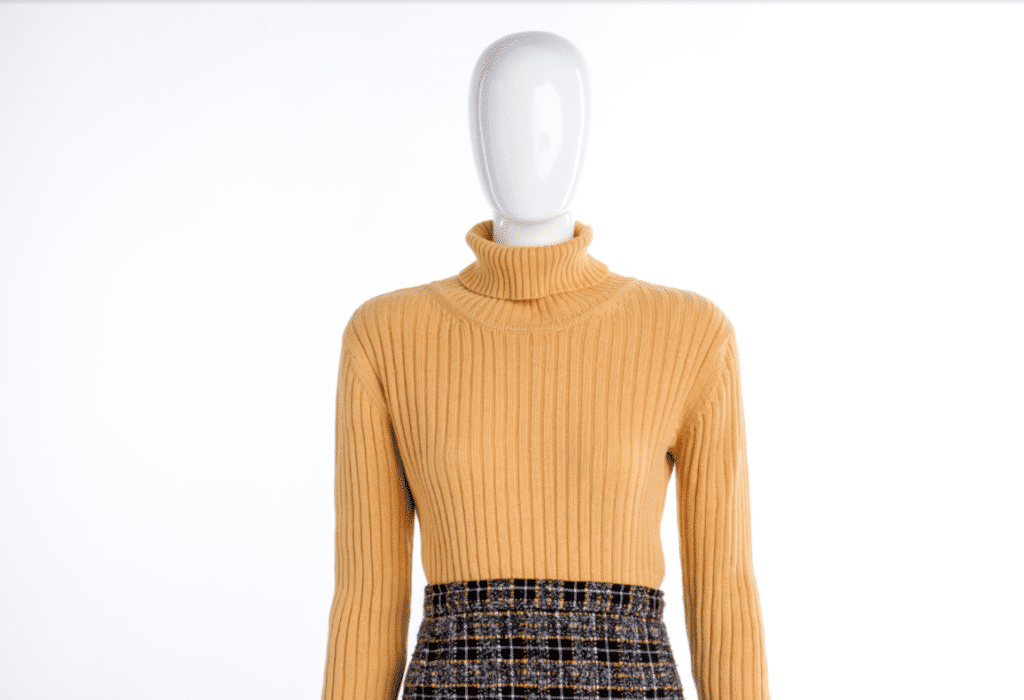
– Mannequin shoot: the clothing is photographed on a mannequin. This form of fashion photography is also called fashion model shooting mentioned. The clothing is placed on the mannequin and photographed. After the first photo is taken, a second photo is taken where the inside of the collar is visible. This part of the garment is not visible in the first photo (on the mannequin). In post-processing (collar mounting), the collar of the second photo is processed in the first image.
The big advantage of a mannequin shoot is that the clothing is photographed much tighter and shows a better image of the fit. The end product is more even and has more volume than a flat shoot. The disadvantage of a mannequin shoot is that some form of post-processing is always required, but it is cheaper compared to the flat shoot.
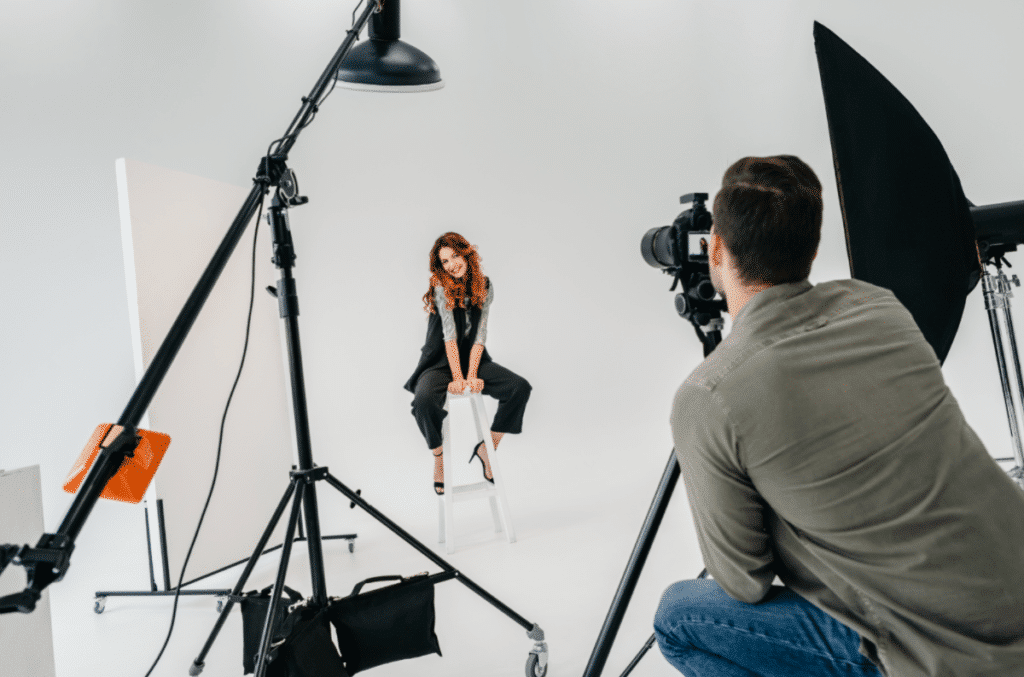
– On model: the last possibility of the three is the photo shoot on the model. The model can be photographed in different ways and locations. You can choose to photograph a part (eg legs, right arm) of the model or the entire model. With this way of shooting you are much less limited in the possibilities than the other two methods. The advantage of this method of photography is that it is easier to tell a story about the brand and not only focus on the garment. The big disadvantage of an on-model shoot is often the high costs and time required. With an on-model shoot, it is possible to deliver without post-processing. Post-processing that might apply: background removal and retouching.
3. Determine and define the post-processing stage
At the moment the images are shot, it is in most cases still important to have them post-processed. Which types of post-processing should be performed and in what way depends on the application and differs per company. The five most commonly used aftereffects for fashion are: retouching, color optimization, collar mounting, detaching and recoloring.
– Retouch: this is a collective term for different types of actions to make the image ‘tighter’ and ‘tidier’. Almost every piece of clothing that is shot flat or on a mannequin needs to be retouched. In on-model photography, the model is often slightly retouched. The most common tasks that come under retouching are: removing dust, making garment symmetrical, removing creases and shape improvements. With the help of our retouching tool it can be clearly indicated to what extent which part of retouching may be performed.
– Color optimization: ideal lighting conditions are an advantage when shooting. Keeping only the ‘real’ colors in your images is extremely difficult. The color differences can be increased or decreased by different settings. To maintain the correct color temperatures and white balance in your final images, we have developed a color optimization tool within our system. Multiple types of input can be used with this tool. The two most commonly used options are:
1) Using the xrite colorchecker while shooting
2) Use of standardized colors. For example, if you previously shot a clothing line with the same colors, these can be used as a reference for the new color optimizations.
Color optimization is an important and almost always used post-processing in every way of shooting fashion. To get the right colors from the image, certain tools / standardization are a must.
– Collar mounting: this form of post-processing has already been briefly discussed in the previous chapter. This editing form is always used in a mannequin / mannequin photo shoot. This will place the second photo in which the inside of the collar is visible in the garment that is photographed on the mannequin. This operation is also often used after a photo shoot that was done on a clothes hanger.
– Make it detached: the name of the operation says a lot about its application. When making clothes and/or models freestanding, the object can be moved in different backgrounds. Detaching can be done in Photoshop using two techniques: ‘pen tool’ and ‘masking’. Both tools have their pros and cons. Depending on the image, the best tool(s) is chosen.
– Recolor: With this method of processing, we color the indicated garments / parts of a garment to the indicated color. An example of this is, during the photo shoot one item of clothing is photographed in orange, we color the same model into 4 other colors. As a result, the studio only has to photograph one article and we do the rest. A reference color is required for recoloring, which can be supplied in various ways. The major advantage of recoloring is the time-saving in the studio. Recoloring can be done with any style of fashion photography.
4. Exporting and preparing images for e-commerce
When you’re shooting, you can choose which file extension works best for you. Depending on the application, quality and post-processing, different file extensions are weighed against each other. Common files with which we work for fashion post-processing are: TIFF, RAW (extension name can differ per camera brand) and JPG. These files are often too large for use on webshops and websites to be used efficiently. After we have performed the edits, we often immediately prepare the images for Ecommerce use.
This setting (export) is often determined in consultation with the Ecommerce manager. Examples of export settings:
– File extension
– Width and height in pixels
– Maximum file size
– Alignment
– Compression
– Before and/or after suffix in file name
Because we also take care of the export after processing, the images are immediately ready for use.
5. Integration Dropyourimage and your product content strategy
When you have gone through all the steps of your fashion shoot, the last step is often the post production (post-processing) of all images. With our innovative systems we make the connection between the shoot, post-production and publication as efficient as possible. Some of the benefits we can offer are: improving processing quality, consistency, innovation, high volume processing, fast delivery and quality control. I would like to look at the current working method together with you and how we can support this.
6. Download: Style Guide Template
Now that we have gone through the different links within the Fashion photography process, it is good to go back to the basic question of this blog.
“How to bring consistency to your fashion product photos”
For this it is good to make documentation that contains all steps of the entire process. We call this documentation a style guide.
We’ve written a blog about creating a Style Guide. In this blog you can use a free template to draw up your own Style Guide. View this blog here


