Selling good photos is a given. Only each product needs its own approach to photography. To start photographing footwear it is important to have a number of issues clear and to take into account various do’s and don’ts. This way you are well prepared for your shoot day and the results will not be disappointing. In this blog we take you through the different steps involved in photographing footwear / shoes.
1. Research and planning
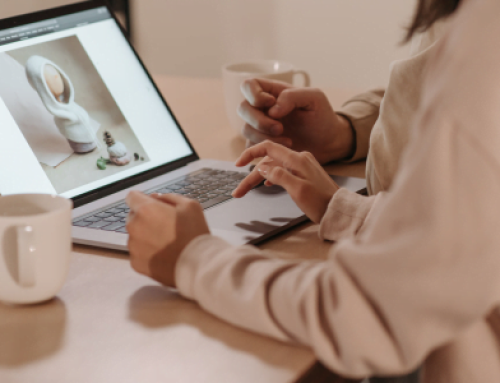
2. Choose effective angles / experiment with angles
3. Choose your location wisely
4. Focus
5. Pay attention to details
6. Shape and size matter
7. Post-processing
1. Research and planning
The very first step when photographing footwear is to make a plan and gather information. Do not spend too much time on this, make sure that the important phases are written out. This could answer the following questions:
– How many pairs of shoes should be photographed?
– How many images should be photographed per product?
– Which setups do we maintain per product/model?
– On which date and location can photography be taken?
– How much time do I need in total for the shoot?
– Are all products on time at the location and we are responsible for this?
By writing down these ‘standard’ questions for yourself, you quickly get structure in the work and you know in advance what the end result will be. For general fashion photography we have published a standard format which you can fill in according to your own wishes, you can use this style guide download here .
2. Choose effective angles / experiment with angles
When photographing shoes, one thing is very important. A single shot from one angle is never enough for a shoe. Even a professional photographer can’t get a perfect shot with just one click.
Instead of taking a shot from one angle, it’s recommended to click multiple shots from different angles. Make sure you have a standardization in the different angles per model type. This makes it easy to guarantee consistency in the images. Also experiment now and then with new angles, with new models this can often have surprising results. The most common angles are:
– The single angle shot
– The ¾ Shot
– Backshot
– Front angle shot (combined)

3. Choose your location wisely
Based on the use of the images, it is important to think carefully about the location of the shoot. Do you want to use the images as a ‘Packshot’ or for a ‘Lookbook’.
When photographing a Packshot image for shoes, it is often a simple and unambiguous location where the consistency of the location is important. Unlike a lookbook image, you want to give a ‘feeling’ to footwear photography.

4. Focus
A focus is an important factor when photographing shoes. Emphasizing the wrong side of the shoe can create visual tension that can distract and confuse your target audience.
Try to keep the focus on the whole shoe, setting the focus in the camera is important for this. Often the rear parts of the object, in this case the shoe, are blurred. Use a wide aperture, this will help you focus and use a tripod to take a picture.

5. Pay attention to details
After you have taken the photo on each side of the corner, one or more detailed images of the shoes can be made. For example, check the straps and laces of the shoe, or other details. Make sure there is no dust on it that could make the photo look bad.
When choosing the detail photos, try to think from the perspective of a potential customer. When you visit the market and choose a pair of shoes, you want to know the details of the shoes whether everything is fine or not. So at the same time, other customers do that even you or me. Product details play a vital role in e-commerce images.
6. Shape and size matter
The shape and size of the product are important to get a realistic picture of the product. Showcase the shoe in the best possible way. If you’re taking an off-foot shot, you’ll need to fill the shoes so they can maintain their actual shape.
To show the real shape of the shoe, it is important to fill the shoes with old clothes or cotton. When photographing the shoes, it is important to place a shoe in an upright position. You can use wire or dental floss to give extra support to the strap of shoes. Such threads and floss used for support can be easily removed with simple product image editing.

7. Post-processing
After the shoes have been photographed, it is important to perform good and consistent post-processing. Depending on the end goals and photography setup, one or more post-processing may be required to achieve the best end result. The most common post-processing in shoe photography are: making a freestanding, adjusting the background. add shadow, retouch (remove dust and straighten), crop and export for ecommerce use. Dropyourimage helps various photo studios with post-processing. Are you curious about the possibilities? Please feel free contact us or request a free 30 minute demo.